
26 Jan DIY Flower wall
When I knew that bridal shower was happening, first thing I thought about was the decorations. Call me basic, but whatever the theme the bridal shower would be, I wanted a flower wall to take picture with. Actually, I NEEDED flower wall. A lot of people warmed me that it would be as expensive or more than ordering one online. I didn’t calculate how much I ended up spending on this flower wall, but it was not cheap. I definitely spent more than $300. If you are planning to make flower walls, be ready for the expense, but It will be worth it for sure. Reason why I wanted to make it myself was because I wanted to control the types of flowers I use and placement of them. I also always enjoyed DIY. I am not the most skillful one, but for anything fabulous, I’m ready to struggle no matter how long it takes to make it. So, if you want to make fabulous wall like me, here is how I did it! This is my first try, so I didn’t do some part effectively. That is why I also put comments where I would do differently next time.
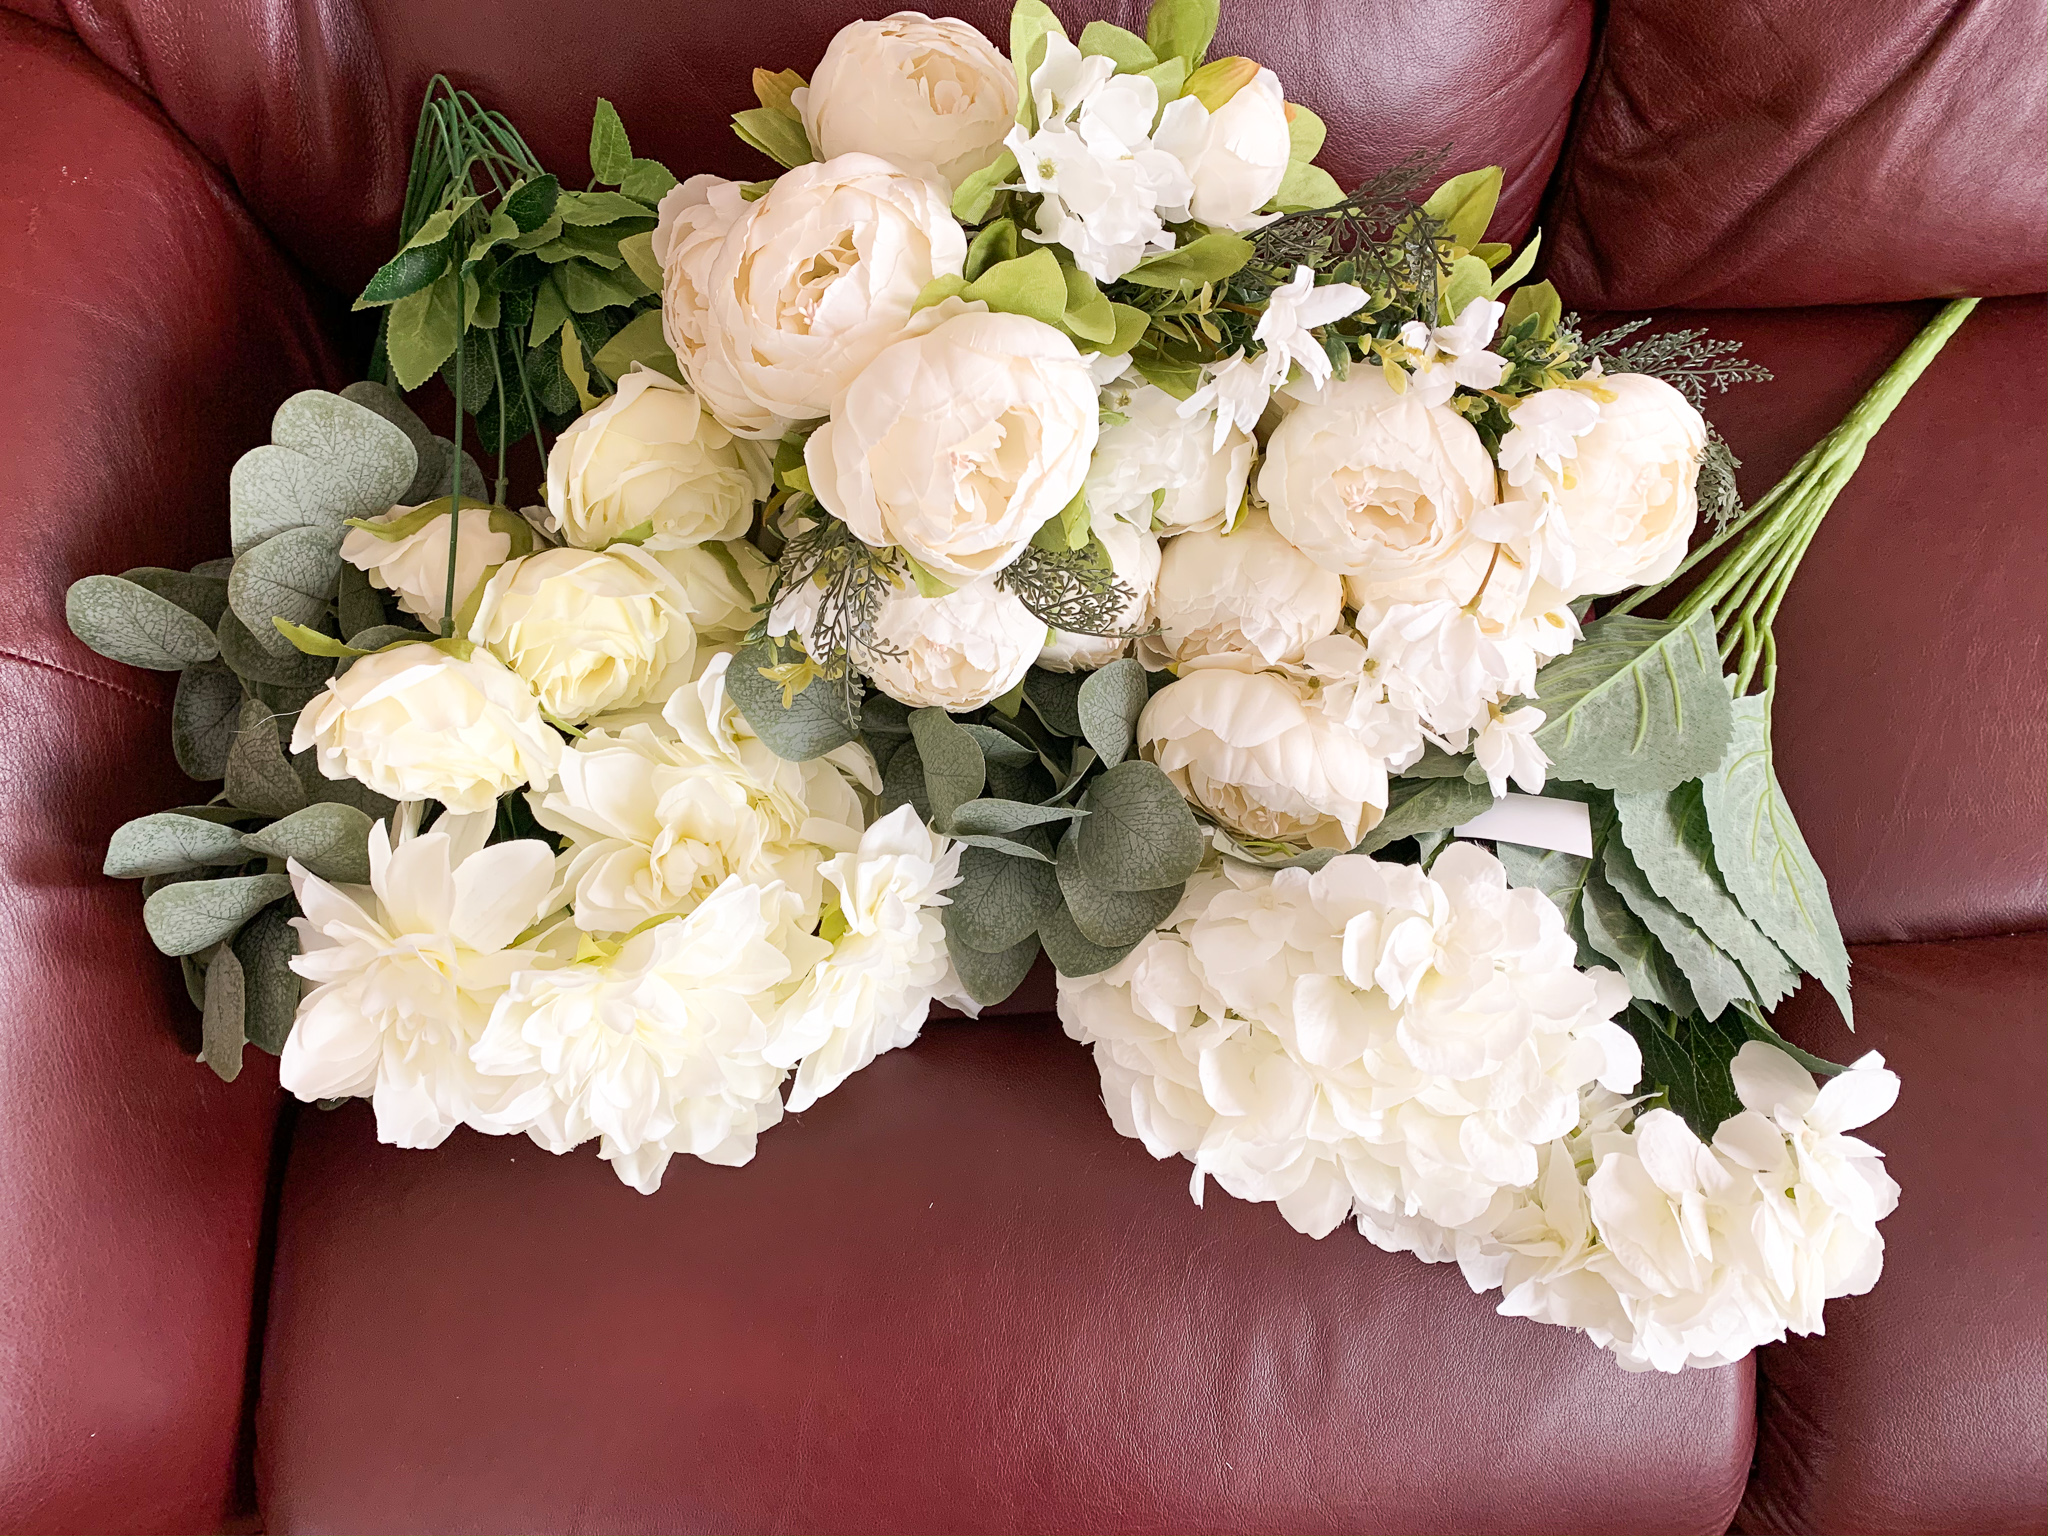
Materials you need
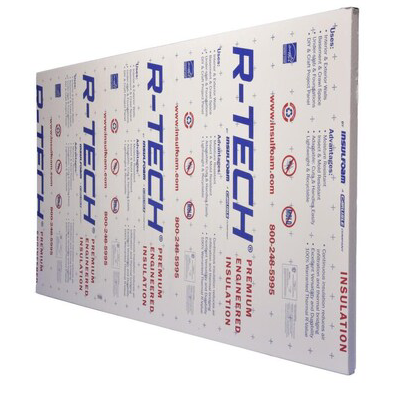
- Foam board insulation
- Flower heads or flower stem with wire
- Glue gun and glue sticks
- Pliers
- Spray paint* (I didn’t use it, but I should have)
Step by Step
- Buy a foam board insulation in a size that you want
- If it’s too big, cut it to your desired size. My boards had measuring marker, so it was easy to cut it straight with a cutter.


- Cut all the flowers stems that have a wire inside shorter but long enough to stick out of the foam with a pliers.
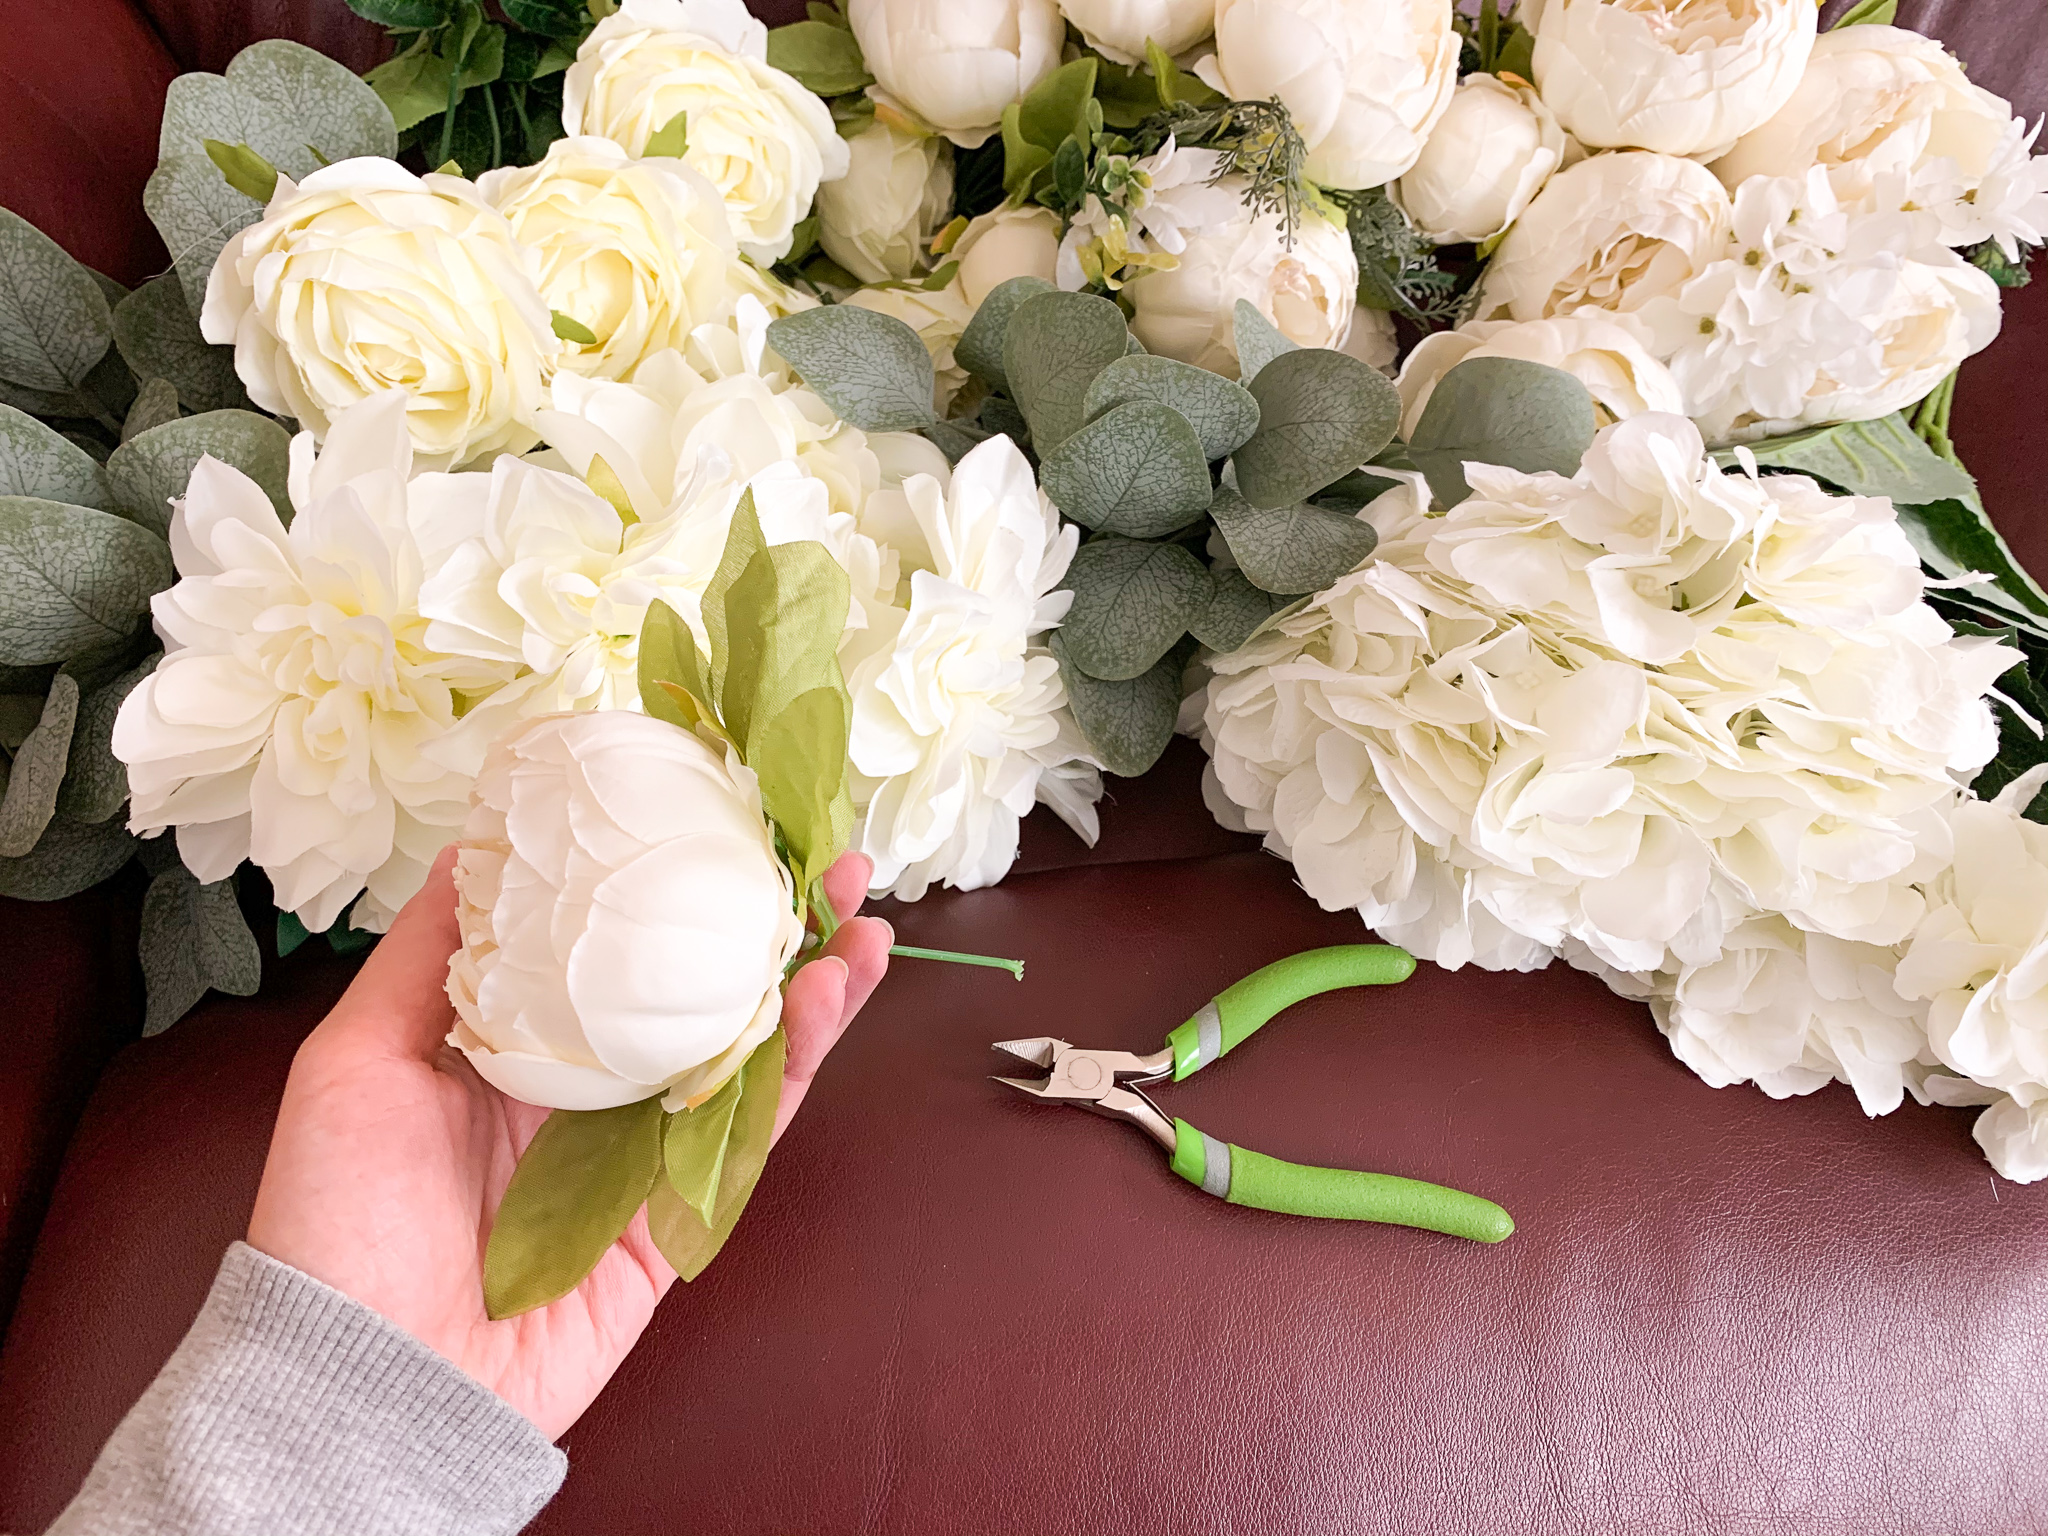


- If you are using leaves for your wall, make sure you cut the flower stem with leaves in it. Leaves are usually slidable. Pull them up close to flower and cut the stem. If the leaves are not movable, cut them apart and save them for later.


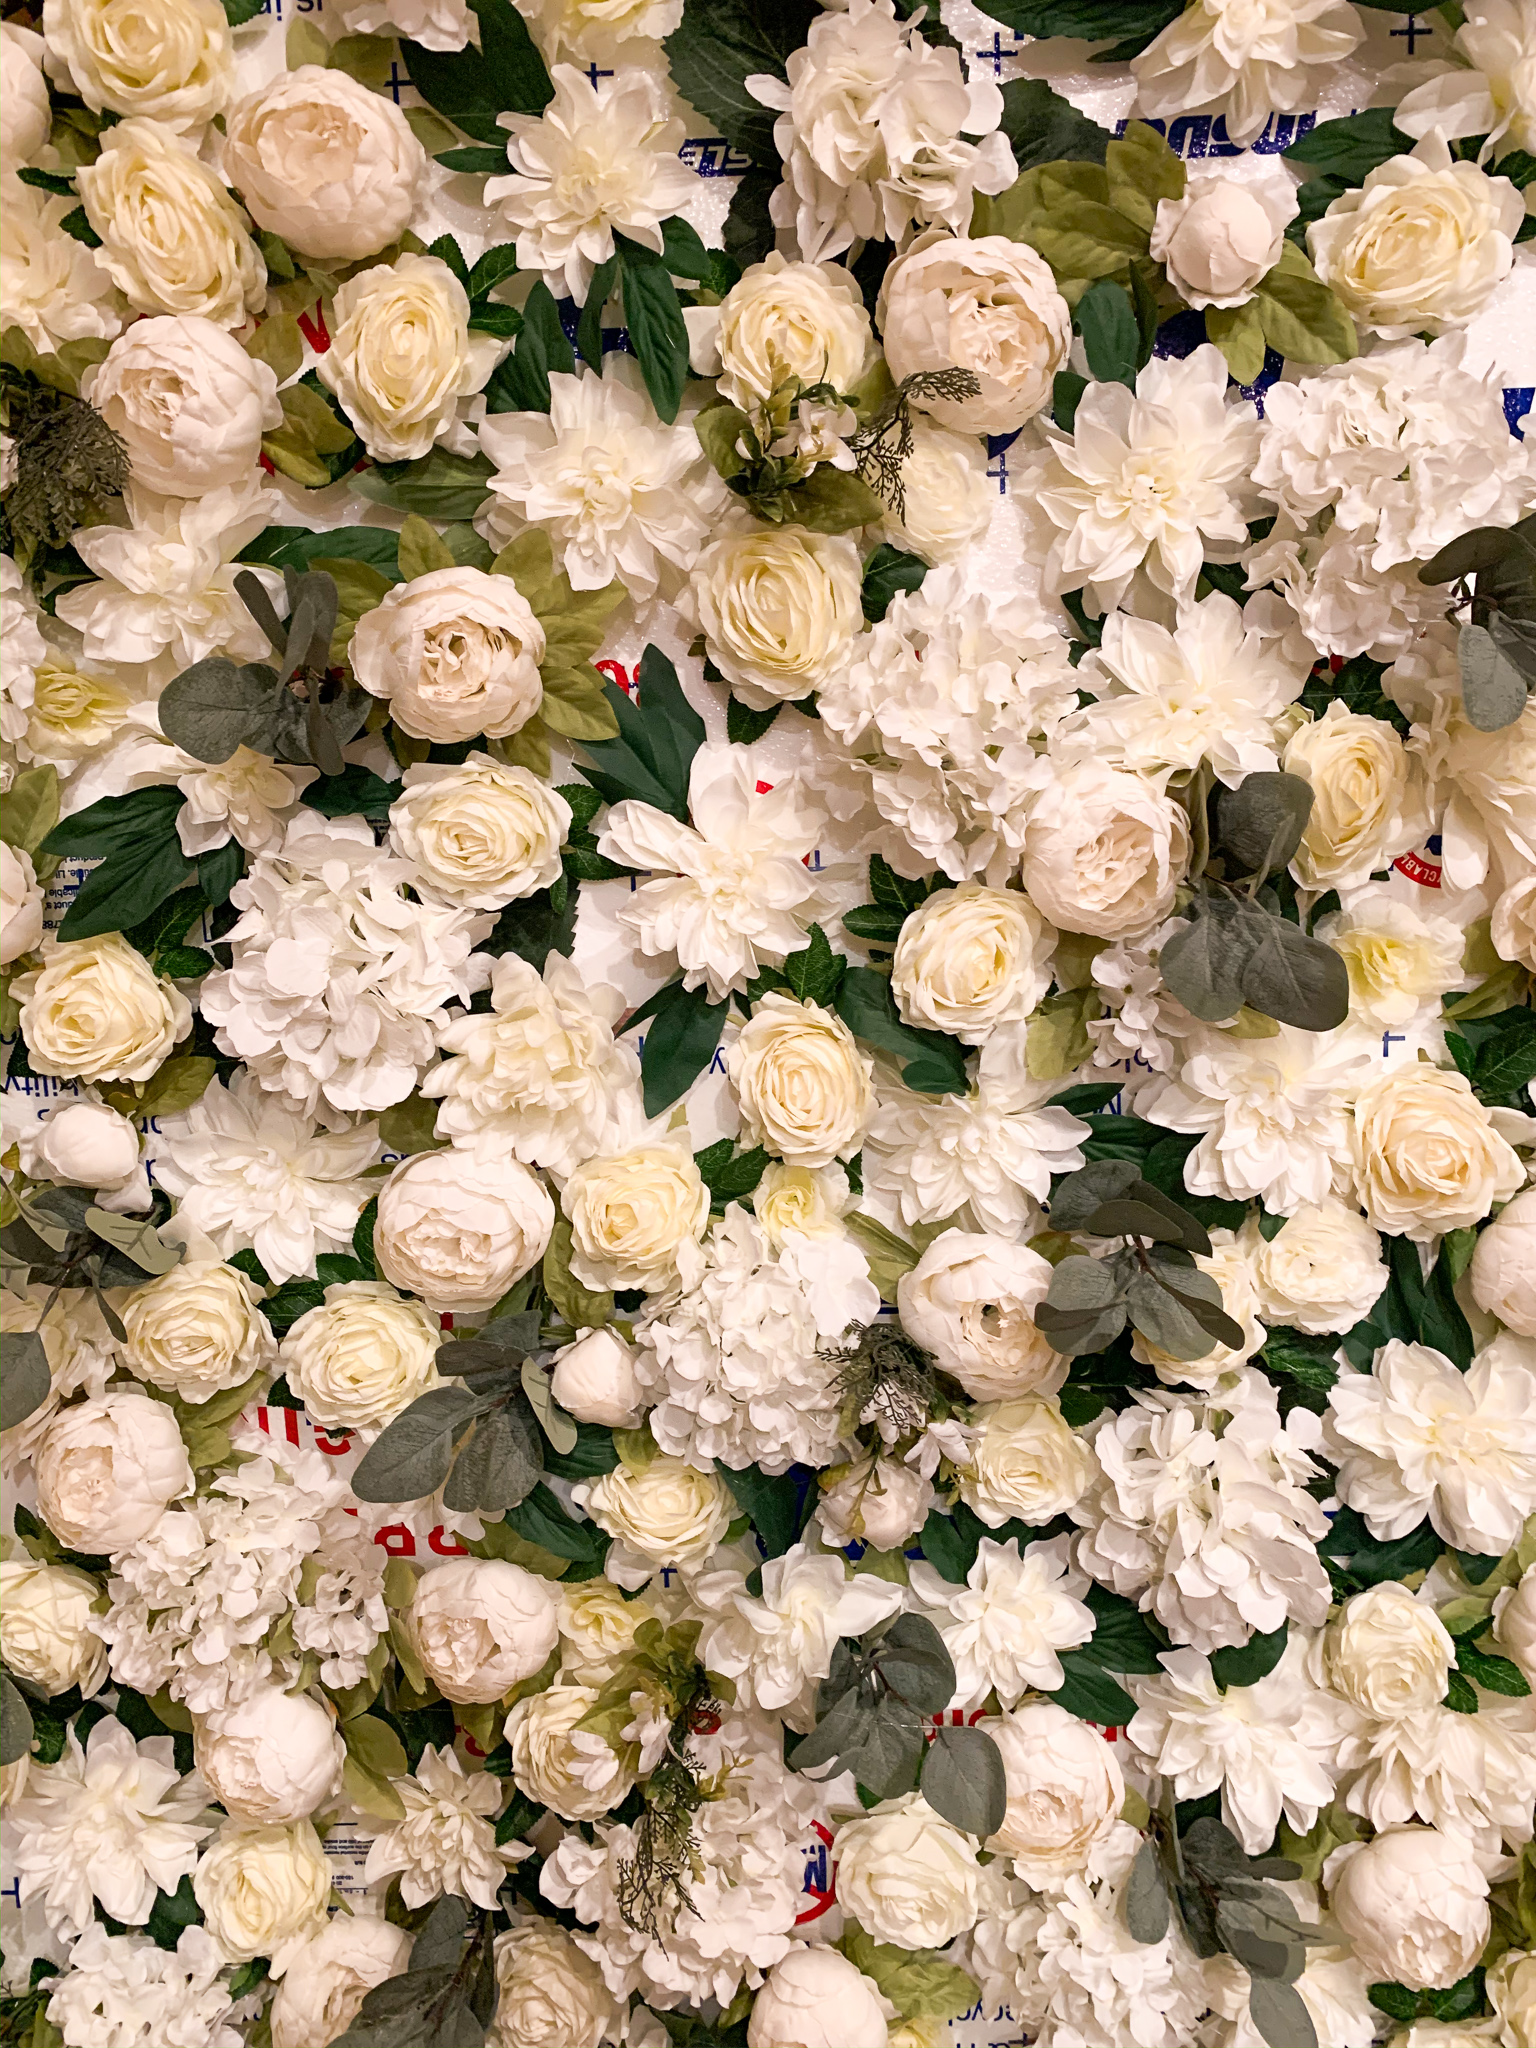
- *Spray paint the foam board with white (I didn’t do this step, so I struggled later to hide the letter on board. This step is strongly recommended)
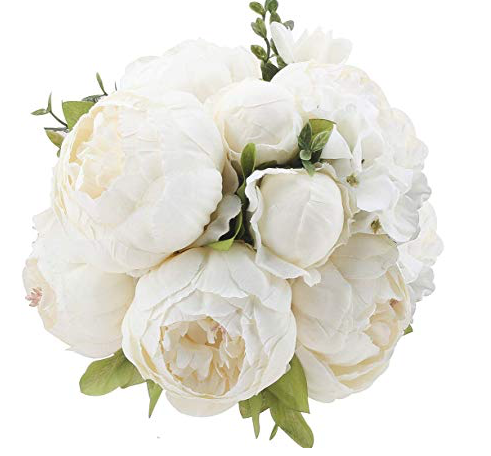
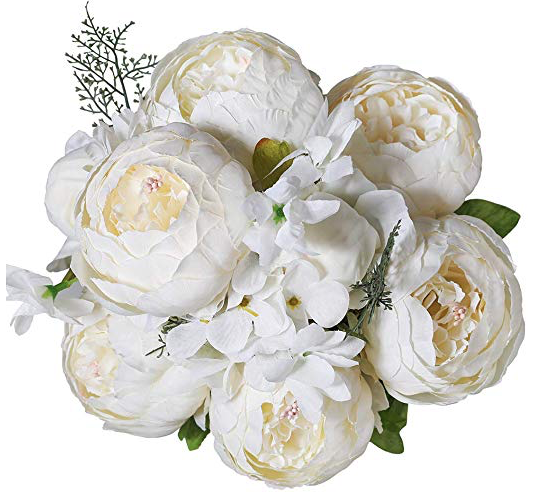
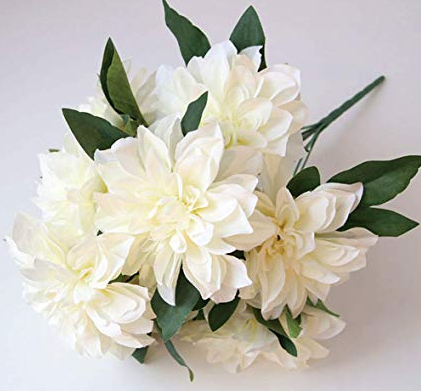
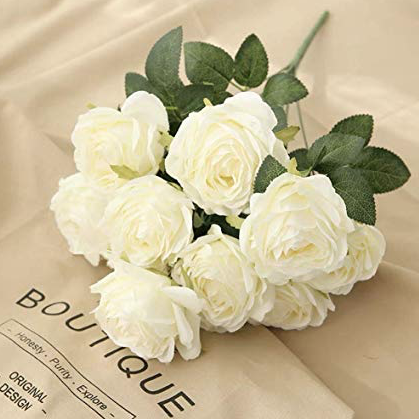
- Hot glue the back of flower and place the flower into foam board. Tip: if you have multiple types of flowers and leaves like I did (rose, peony, dahlia, hydrangea, baby breath, eucalyptus leaf, and etc.), make sure to spread them out, so that one section wouldn’t end up with more roses than rest of the area.


- To place flower heads (without a stem or wire), first poke a foam board with a sharp object like scissors to make a hole. Then, hot glue the back of flower head and place it into a hole. Press the flower hard onto the board to secure it.


- Repeat step 6 & 7 until the board is full and not much space left.
- For some small open spaces, place smaller flower or leaves in gaps. I wanted to make my wall more like a bush, so I inserted long leaves and baby breath stems to make it 3D.
- Hot glue the leaves you saved in step 4 in gaps between flowers to give more bush feels and to hide the imperfection.


- *Flip the board to backside and cut all the extra wires to make it short. When you lean the board to wall, long wire that are sticking out would hinder the board to stand tall. Also, it’s not safe. Cut them as much as you can. It took me forever to cut them all and my palm hurt so much. It should have been cut shorter in step 3, so I can skip the step 11. Oh well haha


- To secure the flowers and leaves even better, hot glue around the each and every wire sticking out.


- Repeat step 3-12, if you have multiple foam boards.


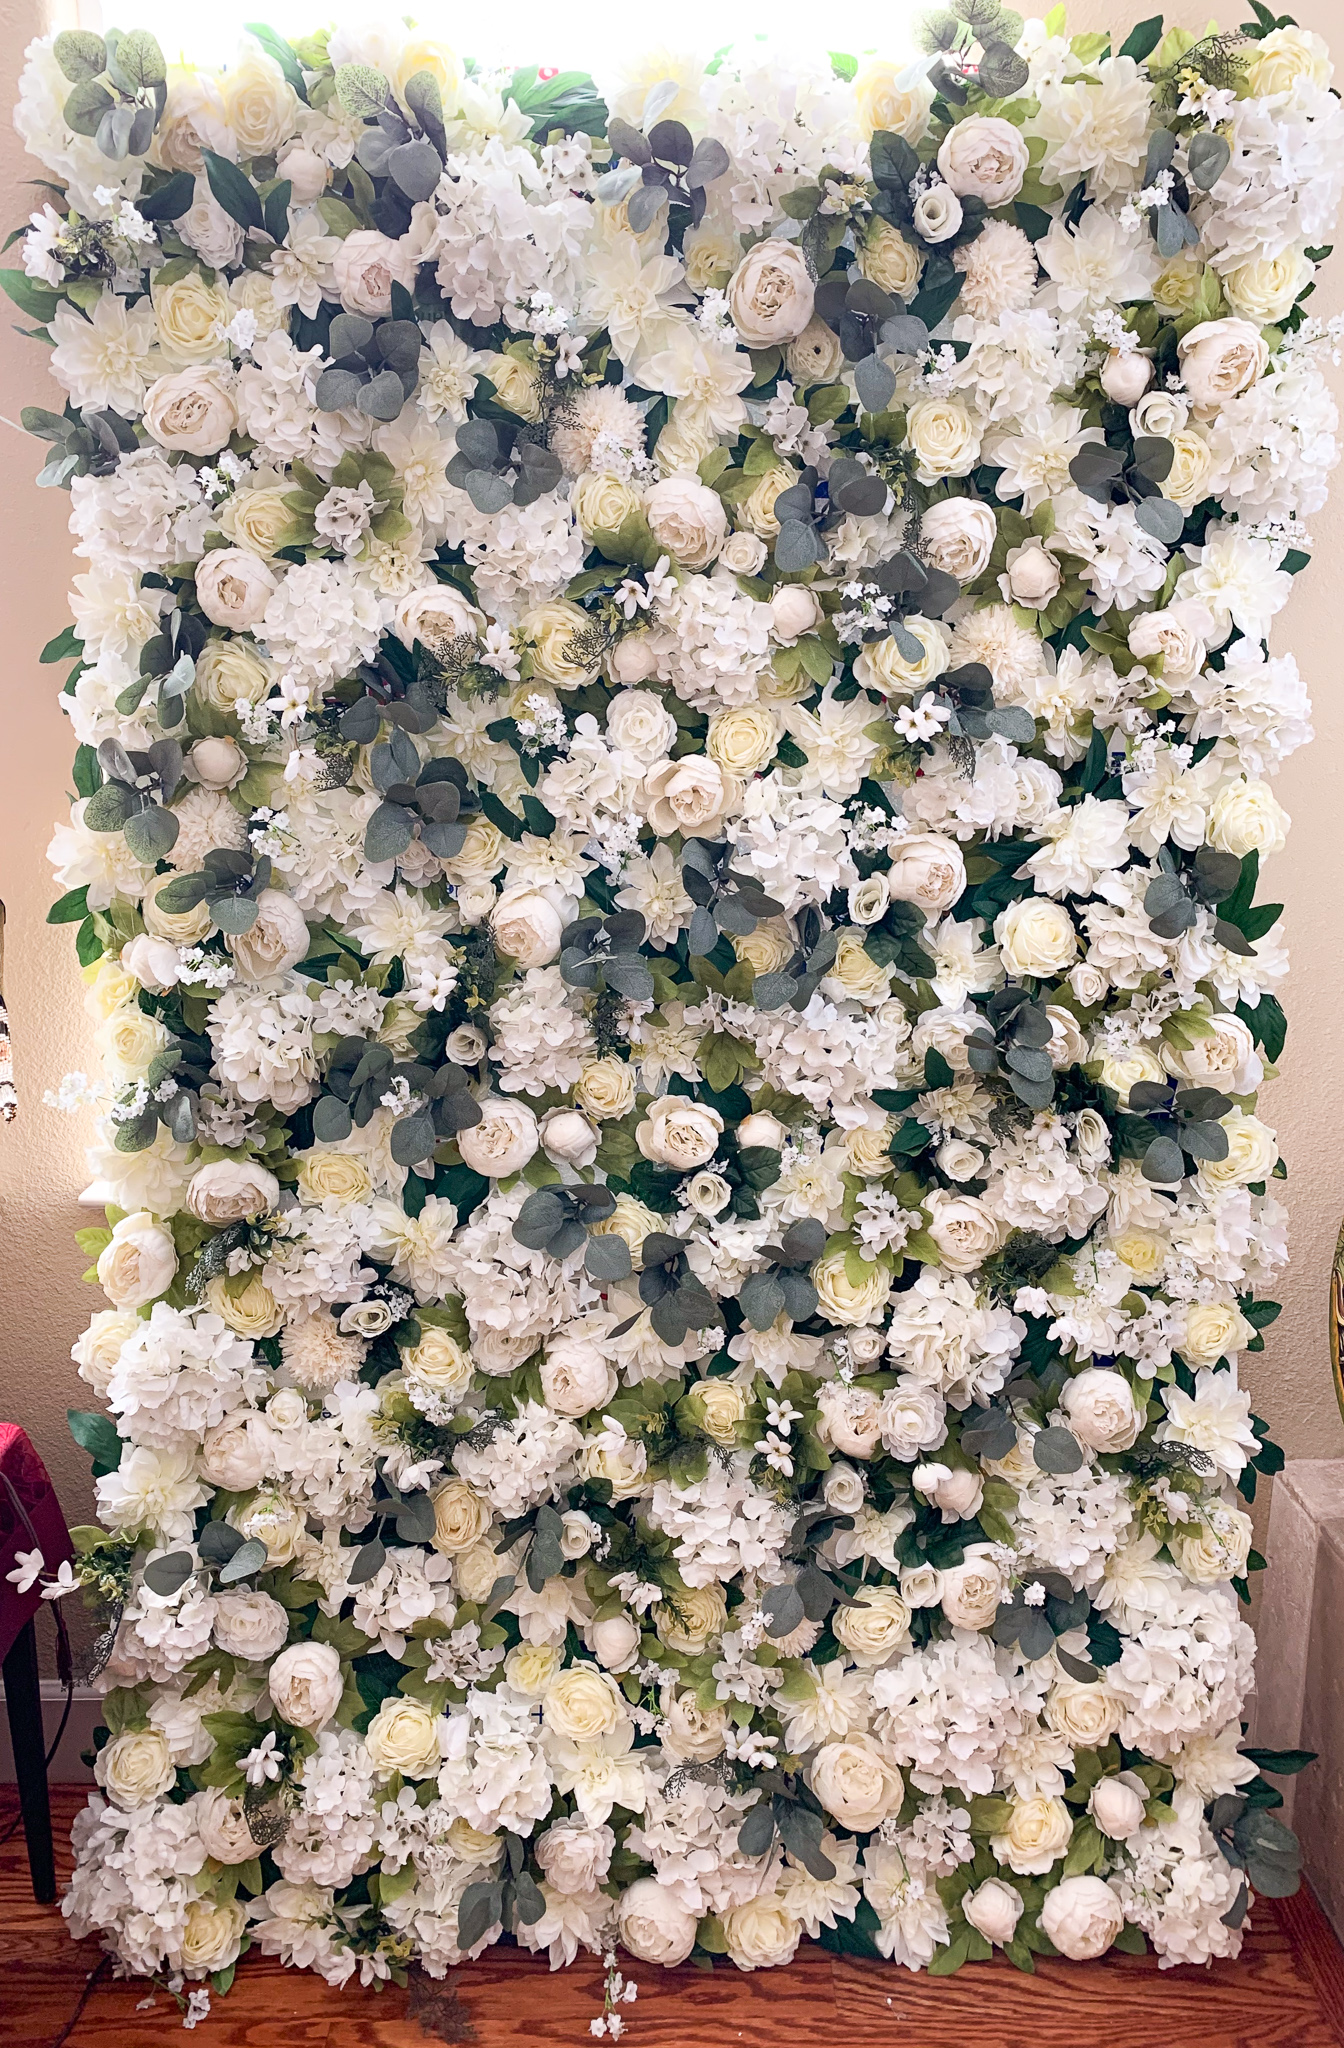
- Voilà!! You have fabulous flower wall!! Congratulations 😉
Tips to save money
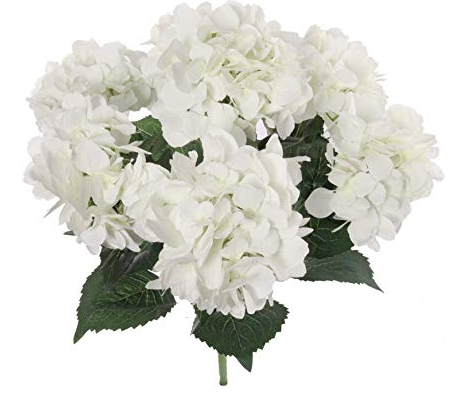
- Use big flower like hydrangea to cover spaces
- And use anything that goes with it. I even used flower garland by cutting them up to fill spaces.
- Do not waste leaves. It helps to cover space and make it to look more natural.
- Plan it ahead and order flowers from online website like AliExpress. As a master procrastinator, I didn’t have enough time to make an order from AliExpress. Site like this offer cheaper flowers than any other sites, but the shipping takes at least 2 weeks. You want to start making an order at least 1 months and half before, so you also have cushion time to make more purchase just in case you need more flowers to cover spaces. I ordered them thru Amazon, so it was fast but wasn’t cheap.
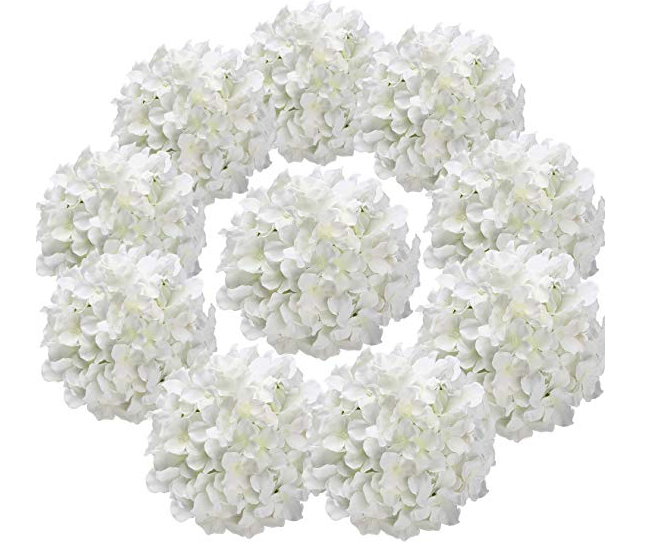
- Buy flower heads instead of bouquet. I don’t regret that I bought flowers stem with wires (looks like a bouquet), because I think it is more secure than flower heads and it is easier to place it. However, I didn’t have any problem of flower heads falling off in process. Even while transporting the wall, flower heads didn’t come off. Flower head is definitely cheaper than one with stem, so if you are going for wall that has only flowers without leaves, it is really good option.
- Have someone who has a big car help you to transport. You need a big car when you buy foam board and also bring it to event location. If you pay shipping for foam board, it is quite expensive. Unless money isn’t an issue for you, you need a help from someone to transport it.
- Spray paint the wall with white or whatever color you are using for flower. It is very hard to fill the board without any gap when you have a small budget. Spray paint first, so small gaps wouldn’t be an issue.


I am very happy I was able to make this wall! Thanks to my mother in law and my husband to helping me out cutting flowers and transporting the wall. I am exhausted from making the walls, but it is very satisfying! It took me a week to make it. In 3 days of making, I realized that flowers I ordered were nowhere near to cover the walls, so I have to triple the order. You definitely need cushion time for this project. You also need patience, help, good music playlist and lots of coffee haha. I worked on walls after I came back from work sometime until 1 in the morning. It was a project, so I loved doing it, even though it wasn’t easy. When I feel like it in the future, I want to make ombré pink wall for home décor! Anyway, I hope this post will help you to make flower wall in your own style! If you have made one before and have useful tips, please share in comment section below! See you in next post!


(Vanessa, my sister in law bought these cute tea party theme banners. They went well with the flower wall!)
To my fellow DIY connoisseur and beautiful flower wall!
Fatima
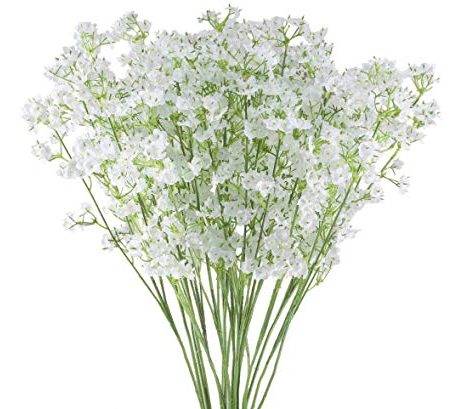
Some flowers, leaf and foam board that I used for this project.

No Comments